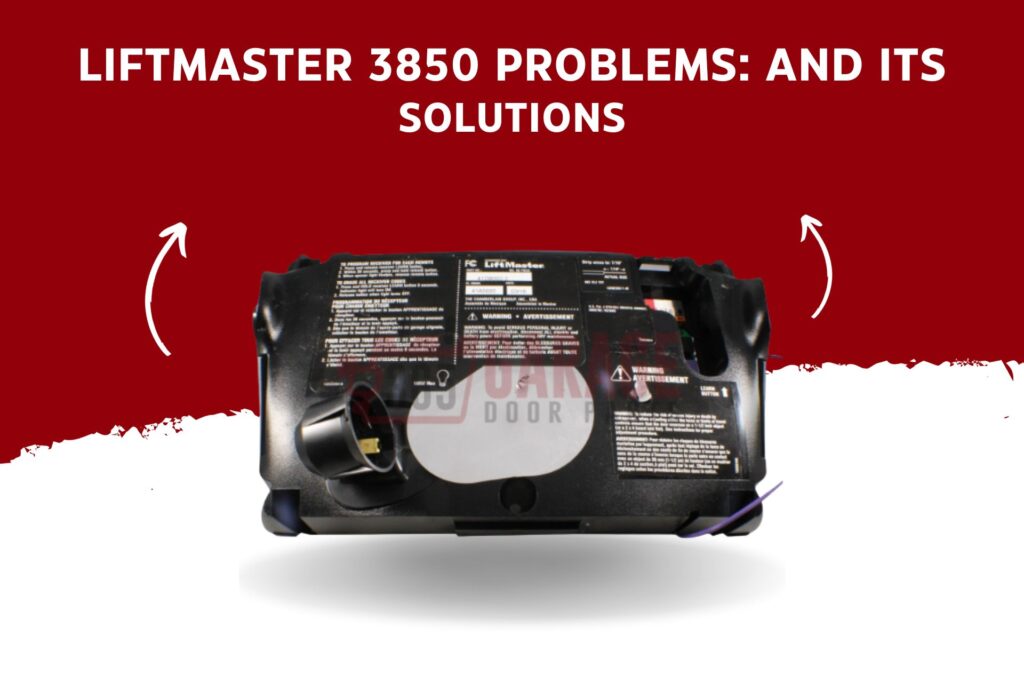
Common problems with the Liftmaster 3850 are the door not closing and the light bulbs blinking on the motor. The second one’s work lights staying on even with the door closed. The third one’s that the push bar on the control panel is not working. And finally reduced proximity sensing.
These are the problems of Liftmaster 3850 at a glance. We’ll discuss these in detail throughout the entire article. So stick with us.
Key Takeaways
- Common Liftmaster 3850 problems are the door not closing and the light bulbs blinking on the motor unit. Other problems are issues with the pushbar, reduced proximity sensing.
- You can fix this through repairing the safety reversing sensor, faulty logic board, faulty control console and regular maintenance
Most common Liftmaster 3850 Problems
Liftmaster 3850 issues are pretty common. You’re most likely to come around a lot of Liftmaster error codes. Like the LiftMaster 8165w error codes and Liftmaster F1 Error codes.
You can use tools from Neiko or Sunex for the solutions that we’ve mentioned.
Here are some of the most common problems of Liftmaster 3850.
| Problem | Reason | Solution |
| The door won’t close and light bulbs blink on the motor unit | Dirty or Misaligned Safety Reversing sensor | Fixing the safety reversing sensor |
| Work lights stay on even with the door closed | Faulty Logic Board | Fixing the faulty logic board |
| The push bar on the control console not working | Faulty Control Console | Fixing the faulty control console |
| Reduced proximity sensing | Bent Proximity sensor | Repair the proximity sensor |
Problem 1: Door Won’t Close & Light Bulbs Blink on the Motor Unit
This happens in your LiftMaster 3850 usually suggests a problem with the safety reversing sensor. The Liftmaster safety reversing sensor is a vital safety element. It stops the garage door from shutting if it encounters an object.
Whether it’s a led light bulb or fluorescent light, this problem might occur for both.
Solution: Fixing the Safety Reversing Sensor
A faulty reversing engine could be caused because of dirt and debris accumulation in the sensor. If that occurs you need to clean the sensor. Here’s how you can do it.
Step-by-Step Process of Fixing a Safety Reversing Sensor
- Disconnect the electricity to the garage door opener before cleaning the sensor to prevent any electrical problems.
- Locate the sensor towards the bottom of the garage door tracks, with the sensors facing each other.
- Wipe the sensors with a clean cloth to remove any dust or debris to prevent harming the sensors.
- Check the sensors’ alignment after cleaning them. Check that the sensors aren’t misaligned and are facing each other directly.
- Close the garage door once you’ve cleaned and adjusted the sensors.
Once you’ve done the steps you need to check the sensor. If the sensors are working correctly, the door will shut smoothly.
For a visual demonstration, check this How to Align the Safety Reversing Sensors on Your LiftMaster Garage Door Opener video.
However, even after doing that if it doesn’t work then you might need to replace the sensors. To replace the sensors it’s advisable to call in a professional.
 Source: Amazon
Problem 2: Work Light Stay on Even With the Door Closed
Another common issue you could face is the work light will stay on even after closing the door. It occurs due to a faulty logic board.
A logic board becomes faulty because of various reasons. Like intermittent power surges, dislodged RPM sensors, control console issues, etc.
Solution: Troubleshooting the Faulty Logic Board
Now, fixing a logic board may require a little bit of expertise and electrical know-how. So it’s advisable to call a professional for this.
However, you could try some steps. Here’s what you can do.
Step-by-Step Process of Fixing a Logic Board
- It is required to determine the exact problem before trying to repair the logic board.
- To identify the problem, investigate the LiftMaster 3850 owner’s manual or a professional technician.
- Examine all electrical connections with the logic board and other garage door opener parts.
- Check whether all connections are safe and undamaged.
- If a particular part is determined to be defective, swap it with a new one. It could be an RPM sensor or control console.
After that, you should be done. However, if it still doesn’t work it’s probably because your logic board is faulty. You need to replace it. Check this How to Replace an AC/DC Logic Board in a LiftMaster Garage Door Opener Using a Service Kit for help.
 Source: eBay
Problem 3: Push Bar on the Control Console Not Working
Sometimes you’ll find the push bar isn’t working properly. It occurs mostly because
of a faulty control console.
A control console could become faulty because of loose wiring, wear or tear, intermittent issues, etc.
Solution: Troubleshooting the Faulty Control Console
It’s advisable to not go through the pain to repair the console. Rather you
should replace it with a new one. Because it’s easier to do so.
You can check this Repairing a dead Chamberlain Lift Master garage door opener video for help.
Have a look at the following control console. It’s one of the best ones in the market.
It’s compatible with the Liftmaster 3850.
| Product Name | Features |
| Liftmaster/Chamberlain/Sentex 41DB002-2 Receiver Logic Assembly Control Board For 3850 and 8500 |
|
Problem 4: Reduced Proximity Sensing
The garage door could fail to open or shut properly due to a lack of Liftmaster proximity sensing. This might cause delays or raise safety issues.
Furthermore, if the proximity sensor is bent or broken, the garage door may be turned off. This can pose a safety risk.
Solution: Repair the Bent Proximity Sensor
Repairing a bent proximity sensor is practically impossible. So, if you find that your proximity sensor is bent you should replace it.
However, if the sensor is just misaligned instead of being bent you can follow these steps to fix it.
Step-by-step process of Fixing a Proximity Sensor
- Check that the space between the Safety Reversing Sensors is clear.
- Make sure the Safety Reversing Sensors are not misaligned.
- Align the receiving eye sensor, clean the lens, and fasten the brackets.
- Check that the door track is securely fastened to the wall and does not move.
- Ensure that the cables from the Safety Reversing Sensors are attached to the motor unit.
Regular Maintenance
To avoid these problems you should consider regular maintenance of Liftmaster garage doors. Also, make sure to keep your garage clean and tidy. For this you can install a hose bib in your garage.
Here’s what you can do to ensure proper maintenance:
- Conduct visual checks, particularly the motor unit, control console, safety sensors, and wiring, regularly.
- Lubricate the garage door opener’s moving parts, such as the rollers, hinges, and springs.
- Inspect the safety sensors near the bottom of the garage door tracks regularly.
- Check the garage door opener’s auto-reverse function to make sure it is working properly.
- If your LiftMaster 3850 has a battery backup, examine it regularly.
FAQ
Why is my Liftmaster Arrows Blinking?
Your liftmaster arrows could be blinking because of certain problems. It could indicate that there is a wiring short or that the safety sensor wires have been reversed. It could also indicate that sensors are out of place. Examine the sensors for any blockages.
Why is My Garage Door Clicking but not Opening?
Your garage door could be clicking but not opening because of a motor issue. It might also be due to stripped gears. If your motor reverses and flashes 10 times, it means there is a problem with the connection. Between the two safety sensors.
How do I know if My Garage Door Opener Capacitor is Bad?
There are 2 most common signs you could know if your garage door capacitor is bad. The first sign is that you’ll be hearing a buzzing or humming sound coming from the garage door. The second one is you’ll see smoke coming out of your garage door when you open it.
Endnote
This should clear out your concern about Liftmaster 3850 Problems. Now you won’t be confused if you face a problem with your garage door.
That’ll be all from us. Catch you another time.


