Introduction
It is a common scenario for users to have problems with the drill chuck. Yet the majority of difficulties can be solved without the assistance of a professional.
So, how to fix Milwaukee drill chuck problems?
First, check the reason behind your chuck problems. There are several problems including worn-out chuck, loose chuck, dirty chuck, crooked bit and chuck stuck. To solve these problems you need to tighten, clean and sometimes even replace the chuck.
To get into a more in-depth discussion on a specific problem and solution, continue reading. We’ve conducted a very detailed analysis of the chuck problem, so stick with us!
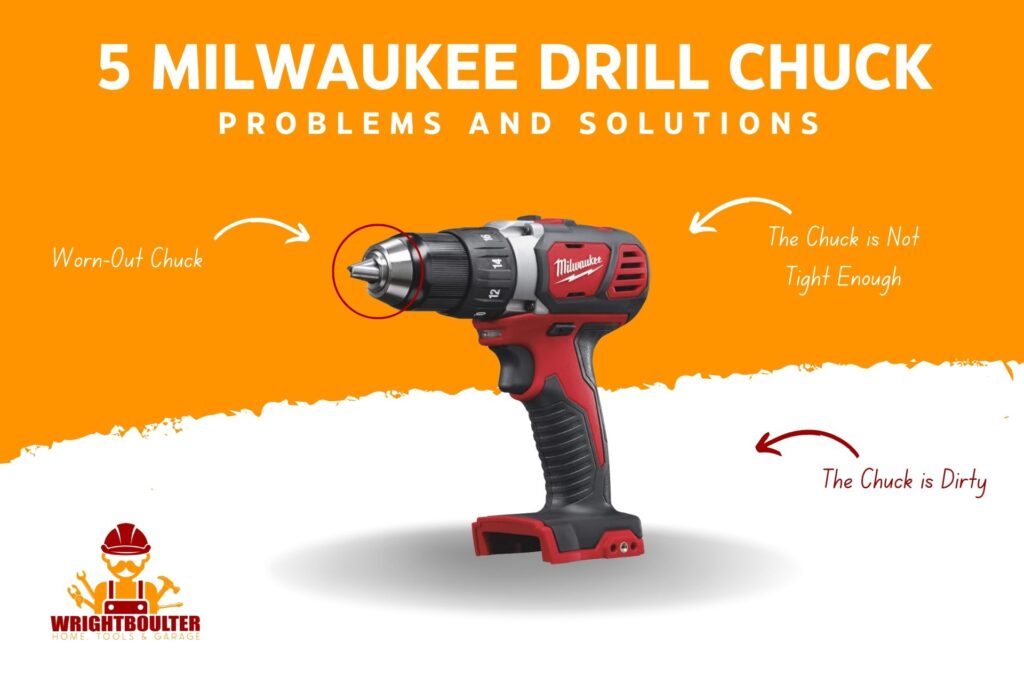
Milwaukee Drill Chuck Problems and Solutions
In the table below shows the problem, reason and solution of the Milwaukee drill chuck problem.
| Problem | Reason | Solution |
| Worn Out Chuck | Cheaper chuck from third-party manufacturer , Old chuck | Replacement |
| Chuck is not tight enough | Tighten the chuck | |
| Dirty Chuck | Dust, oily things | Clean the chuck |
| Crooked Drill Bit | Installation, using drill | Replace the bit |
| Chuck is Stuck | Broken, incorrectly sized key chuck, internal screw loose or too-tight chuck. | Tighten the chuck, Replacement |
Problem 1: Worn-Out Chuck
Reason
The reason behind your worn-out chuck problem is,
- Cheaper chuck from a third-party manufacturer
- Old chuck
Solution
Replacing Chuck is the only solution to this problem. Here is how;
Tools Required:
- Large Allen Wrench
- Screwdriver
- Rubber mallet
Step 1: Remove the battery while replacing the chuck to avoid undesired accidents.
Step 2: Choose an Allen wrench according to your drill size. Start to tighten the chunk until the Allen wrench is placed correctly.
Step 3: Switch the transmission to the lowest setting. The drill’s resistance will be gradually reduced as a result of doing this. A larger resistance will cause the clutch to cut off the motor.
Step 4: Set the drill speed to one that way you can drive the screws without worrying about overdriving or stripping the screw heads. The bigger screw requires more torque to tighten.
If you want to provide the necessary force to the wheels, you’ll need to increase the torque setting since the clutch is sliding at lower levels.
Step 5: Remove the chuck retaining screw. Get the chunk’s jaw moving a little bit. Almost all keyless Milwaukee drills feature a set screw in the chuck.
To remove the screw, insert a screwdriver of the right size and spin it clockwise; this may need some effort due to the presence of thread-locking fluid.
Step 5: Put the shortened end of a big Allen wrench into the chuck mechanism. The Allen wrench must then be fastened into the chuck.
The chuck may be removed from the drill casing by hand after being loosened.
For more knowledge see the video.
How to Replace Chuck on a Milwaukee cordless drill
Step 6: Install the new chuck.
The process is similar problem to the Milwaukee Sawzall problem.
Problem 2: The Chuck is Not Tight Enough
Reason
The reason behind your chuck is not tight enough, is the drill is worn out.
Solution
Which drills need more than one click sound, tighten them until you can be sure that the chuck is tightened enough.
Otherwise, you can follow the below step to tighten the drill perfectly,
- While holding the drill, turn the chuck until the teeth touch the bit.
- Turn the chuck clockwise until you hear a ratcheting sound.
Problem 3: The Chuck is Dirty
Reason
The drill chuck can get dirty due to dust and oily substances such as lubricants.

Source: Freepik
Solution
If you have a source of compressed air, that’s probably the fastest and easiest way.
Follow the below step to clean the chuck,
Step 1: Remove the chuck from the drill.
Step 2: Remove the chuck from the drill press, open the jaws completely, and blast out as much debris as you can using compressed air.
Step 3: Scrub the chuck’s inside with a toothbrush and mineral spirits from the jaw end while holding the chuck above your head.
Step 4: Repeat several times until you get no more debris.
For more knowledge check the video.
Drill chuck cleaning
If you don’t have compressed air, you can use a microfiber cloth or damp rag instead of it. And follow as given below,
Step 1: Remove the chuck from the drill.
Step 2: A microfiber cloth may be inserted inside the chuck once its jaws have been opened all the way.
Step 3: Do your best to twist it around, cleaning the inside of the chuck.
Problem 4: The Drill Bit is Crooked
Reason
The reason behind crooked drill bit are given below,
- Crooked during installation
- Crooked during using drill
Solution
If your drill bit is crooked somehow, it’s impossible to reuse it, in that case, you need to replace the bit.
You have an alternative, make sure your drill bit is inserted straight in the jaws of the drill. When working with small twist-bit drill bits, it’s really easy to accidentally insert the bit at an angle.
For better bits, you can choose one bit from Norseman or Vikings bits.
Problem 5: Chuck is stuck
Reason
The reason behind your chuck being stuck,
- Broken key chuck
- Incorrectly sized key chuck
- Internal screw loosening problem
- Too-tight chuck.

Source: MainlyWoodwork
Solution
The drill chuck’s internal screw may be loose, so be sure you tighten it if the chuck won’t close. To tighten it follow the above steps.
If you think you need to change the drill chuck to fix the issue, here’s how to do it.
There are many other Milwaukee drill stuck problem solutions and we mention here the most common solutions.
FAQs
Why Is My Chuck Not Spinning?
When a drill won’t spin straight, it’s usually because the bit isn’t centered in the chuck. To solve this problem, be sure The drill bit must be completely inserted and secured in the chuck’s centre.
Which Way Do You Turn A Chuck To Loosen?
To tighten or loosen a keyless chuck, just turn the chuck’s outer casing. Turning the chuck counterclockwise while holding the drill with the chuck facing away from you will tighten the jaws around the drill bit while turning it clockwise will loosen them.
What Are The Settings On A Drill Chuck?
Every chuck has three settings. The 1st setting is ideal for driving screws because of its low speed and high torque. The speed and torque of setting 2 are just right for general drilling and driving. The 3rd setting is ideal for drilling or driving fasteners.
Conclusion
Milwaukee drill chuck problems can ruin your drill-using experience. And most of these problems occur because of a cheap chuck. Try out these solutions until your drill works properly, and then report back to us on how effective they were.

