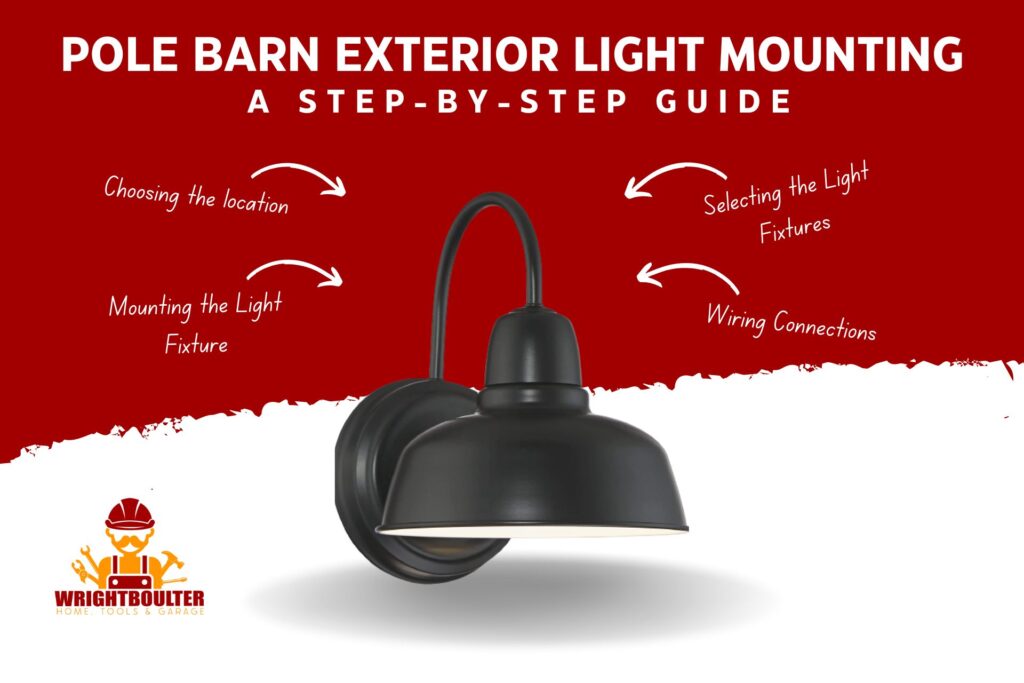
Introduction
It is possible to decorate or mount your pole barn exterior light by yourself if you maintain the basic steps and this article will work as a guidebook for you.
How would you follow the steps for pole barn exterior light mounting?
It is advised to follow a few steps including choosing the location, selecting the light fixtures, measuring and marking the mounting locations, installing the mounting brackets, wiring the light fixtures, mounting the light fixtures, testing the lights, and many others.
To ensure that the lights are mounted on a pole barn safely and successfully you have come to the right place to learn about any aspect of the installation process.
How To Mount Pole Barn Exterior Light; Step-by-Step Guide
You can install pole barn exterior light mounting by yourself. To properly mount your pole barn exterior light, you must acquire the necessary steps and stick to the recommended procedures.
Tools Needed:
- Builders Edge Jumbo Block
- 3/8 Inch Plywood
- 4-Inch Round Electrical Box
- Plywood Stiffener And Cutter
- Plywood Cutter
- Scale For Measuring
Safety Precautions:
- Choose electrical components that are resistant to weather and are approved for outdoor usage.
- While deciding where to put the lights, take into account the height of the pole barn and the surrounding area.
- Make sure the lights are firmly fixed so they won’t blow off or come loose in strong winds or storms.
Step 1: Choosing the location
Before you start building the pole barn exterior light, you have to measure the area, clear any obstructions, such as trees and shrubs, and level the ground.
Step 2: Selecting the Light Fixtures
It depends on you and you can use these several types of lighting for your pole barn. The table below shows different types of light and how bright they will shine on your pole barn.
| Lighting type | Efficacy
(lumens per watts_Higher is better) |
Lifetime (hours) | Color Rendition | Color Temperature | Price per bulb ($) |
| Standard “A” Bulb | 7-9 | 1000 | Excellent | Warm | 16.99 |
| Tungsten Halogen | 37 | 2000 | Excellent | Warm to neutral | 3-5 |
| Straight Tube | 18 | 5000-8000 | Fair to good | Warm to cold | 7.99 |
| Compact Fluorescent | 50-70 | 6000-15000 | Good | Warm to cold | 15 |
| HID Metal Halide* | 70-100 | 6000-15000 | Fair | Cold | 36.68 |
| HID High-Pressue Sodium* | 75-140 | 12000 | Poor | Warm | 51.50 |
| LED Light | 75-110 | 50000 | Good | Warm to cold | 12 |
Now that you have chosen one for yourself, lets get to the next step which is the juicy part of mounting the light.
Step 3: Mounting the Light Fixture
Cut the Builders Edge Jumbo block to size, leaving a 4-inch gap in the center. Then, use the 4-inch circular electrical box to securely attach the plywood to the block. This will allow you to center the light fixture and ensure it stays in place.
Once the base is prepared, cut larger pieces of high-quality plywood to mount the block and electric box. Be sure to exercise caution when working with the electrical components and use only high-quality plywood that will fully cover and protect the box.
After cutting a hole in the steel to accommodate the box and plywood mount, screw the larger plywood frame onto the steel to secure everything in place. Then, caulk around the rectangular block before snapping on the cover.
 Source: plywood
Before mounting the light fixture, conduct an initial wiring check to ensure everything is in working order. Finally, you can either screw the fixture above the doorway or install the box on a pole to complete the installation.
Always exercise caution when working with electricity and follow proper safety protocols to ensure a successful and safe installation.
 Source: mounting lights to ribbed exterior surface
Step 4: Wiring Connections
Protect your pole barn lights from weather effects, you could also get more details about what are weatherhead sockets used for. Check to see if there are any unique wiring needs for control circuits or emergency power.
Step 5: Testing The Lights
After installing the exterior light, check its stability. Examine the connection between the connector and junction boxes. Verify the positioning of the light to ensure complete coverage.
Avoid any obstructions that may interfere with the lighting. Focus on lighting control and distribution. You can visit causes night vision to damage for more details.
Here is a demo video of the decoration of Pole Barn: Exterior lights and electrical for your setup guidance.
Pole Barn part 10: Exterior lights and electrical
What Kind of Wiring Should I Use for Exterior Lights on a Pole Barn?
Use conduits and cables that are specifically made for outdoor use, such as outdoor-rated cables. Also, it’s crucial to use junction boxes and wire connectors that are approved for outdoor use.
When wiring exterior lights on a pole barn, use wiring rated for outdoor use that can withstand exposure to the elements. The NEC requires outdoor lighting wiring to be rated for wet or damp locations.
So, it should be moisture-resistant and withstand outdoor elements. Proper grounding and secure connections are important to prevent accidents or damage. A 20 amp lighting circuit is common for pole barn lighting.
Consult a licensed electrician for electrical work to ensure safety and code compliance. If you want to light your garage more details you could get from how to wire garage lights in series.
Do You Need a Mounting Block for Exterior Lights?
Yes, light fixtures, outlet boxes, and dryer vents should all be mounted to mounting blocks that rest against the sheathing to prevent water from entering the wall through the fixture and under the siding.
A mounting block is commonly used for exterior light fixtures, providing a flat surface and hiding wiring or electrical boxes. However, it is possible to mount lights without one.
A weatherproof box with a galvanized pipe or a Jumbo block and plywood can be used as alternatives. The need for a mounting block will depend on the specific installation needs and circumstances.
FAQs
Do I Need To Hire An Electrician To Install Exterior Lights On My Pole Barn?
You can do it by yourself but you should have basic knowledge like an electrician. However, electrical work can be challenging and dangerous. Installation of lampposts is best left to a qualified electrician. Get a Part P-qualified electrician to assist you if at all possible.
How High to Mount Exterior Lights?
The appropriate outside light height for the majority of residences is just over most people’s eyes. Your outdoor sconces and wall lights should be positioned in most front door and entry locations such that the center point is exactly 66 to 72 inches above the floor.
Can I Use Solar-Powered Lights on My Pole Barn?
Yes, it is possible to use solar-powered lights on a pole barn. Solar panels absorb energy from sunlight and convert it into electrical energy, which can be used to power lights and other electrical devices.
Conclusion
By following these instructions I am sure that your pole barn exterior light mounting will effectively work and that your property is well secured. Hopefully, this content helped you get that aesthetic look on your pole barn.

